

Tracheostomy care involves a variety of supplies to ensure proper airway management and hygiene. Each...

The journey to ensuring proper tracheostomy care begins with recognizing that tracheostomy supplies,...
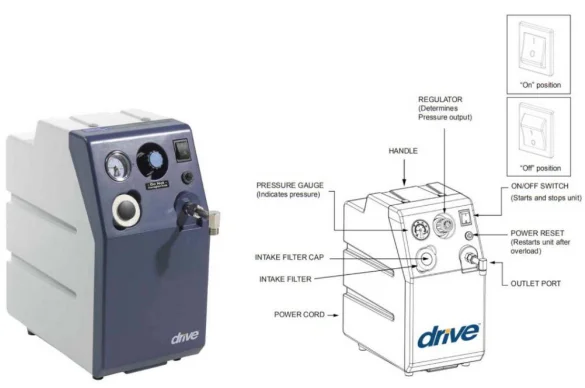
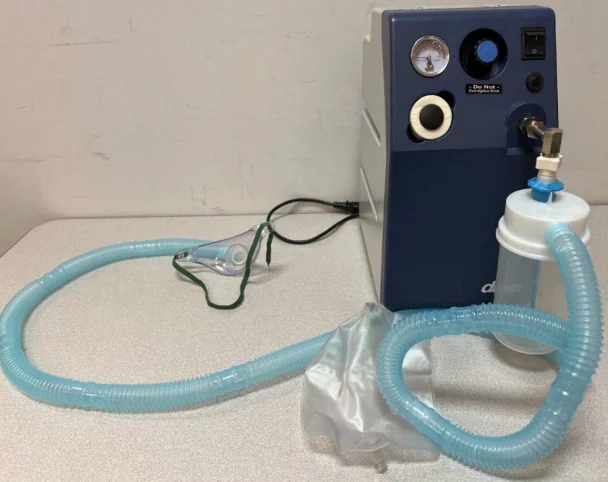
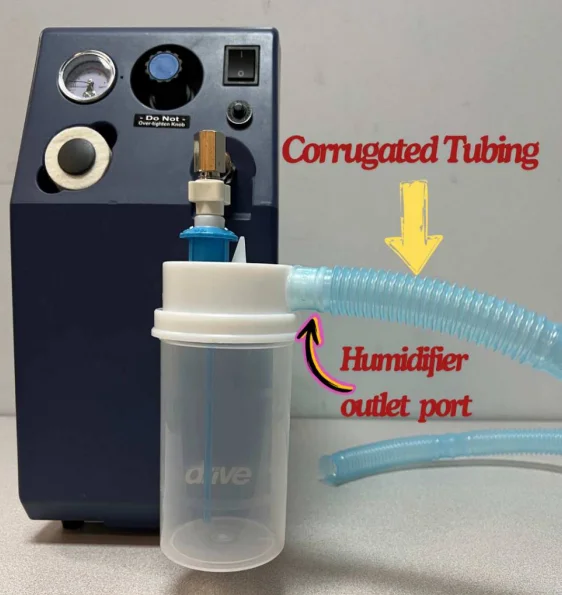
Suction machines are crucial medical devices that help keep airways clear. They’re often used for tracheostomy...